If you want to discover some creative styles, add a unique design and give a touch that is in a class by itself to your arts, hydro dipping is the only option. It is sometimes called water transfer printing or acrylic dip painting method.
Water and different kinds of paints, mainly acrylics, are mixed in an appropriate proportion for the technique.
In the article, we will examine how to hydro-dip with acrylic paint. Moreover, a few practical tips will be discussed to get you fruitful results.
How to Hydro Dip with Acrylic Paint? Quick Overview
- Add a small quantity of borax into the water and mix well.
- Select a specific colour or group of paints.
- Drop a desired colour into the water mixture.
- Swirl the mixture with the help of a brush or toothpick so that the colour is homogenised.
- Dip the paper or cloth into the mixture carefully.
- Finally, remove the object from the mixture and let it dry thoroughly.
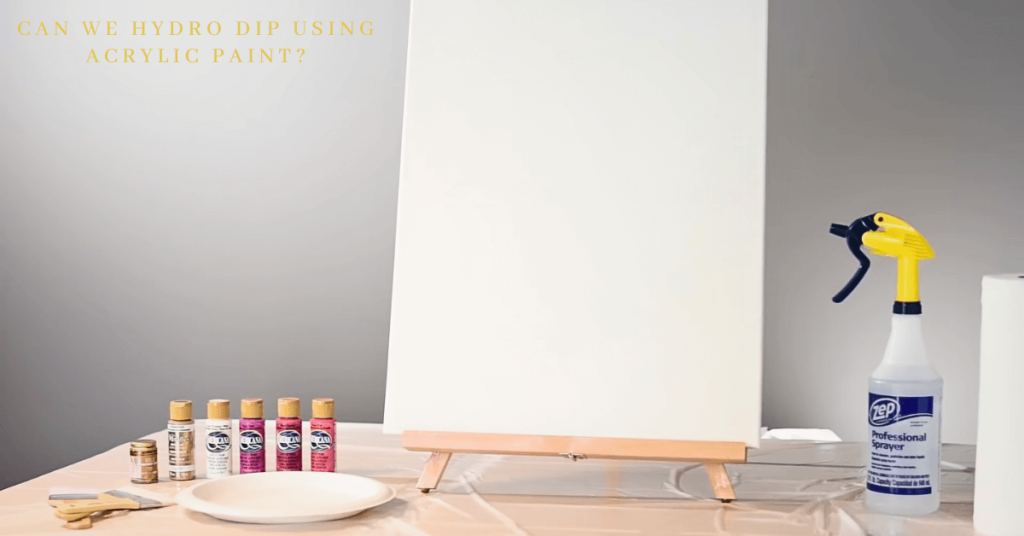
Can We Hydro Dip Using Acrylic Paint?
Yes, we can hydro-dip with acrylic paint. But it would help if you keep in mind some precautions.
The paint should be consistent with the surface you are going to design. A binding agent is required to adhere the dye to the surface firmly.
Lastly, the paint needs to be cured entirely before applying another clear coat.
Does Acrylic Paint Float On Water?
No, acrylic paints don’t flow on the water. Instead, it is mixed with the water chemically and tends to sink. The reason is the density of the paint which is relatively higher than the water.
To make the paint flow on water, you have to lower its density. It can be done by adding a smaller quantity of glycerin. Sometimes silicon oil is also used to reduce the density.
The downside to adding such a medium is changing in the paint’s properties. It does not remain as original as it was before. The composition is also distorted, and the result is not as satisfactory as expected.
Hydro Dipping With Acrylic Paint – Dip Painting Techniques
1. Marbling Three-Dimensional Objects:
Acrylic paints are used in a variety of ways to draw catching designs on different surfaces. Marbling is a usual and popular method among painters.
It involves adding multiple colours at a time to water and making them float over each other. The technique is equally effective in designing on paper and fabrics. So let’s explore how to design 3D objects with acrylic paints.
Supplies required:
- Water bowl
- Various colours of acrylics
- The desired object (which you want to design)
- Cornstarch
- A toothpick or anything to swirl the mixture
Procedure:
- Take a water bowl and add a suitable quantity of water to the bowl.
- Pour different colours of your choice into the solvent, i.e. water. To create a vibrant effect, I prefer food colours.
- For a marbled design, add each colour one by one. After adding a single colour, swirl it well to mix it thoroughly.
- In the same way, continues adding your favourite colours and stir until you get the design you want.
- Once you reach the desired result, dip the object in the water mixture.
- Wait for a while so that the excess colour is dripped off.
- Finally, let the object dry completely.
Tips: Taking an adequate amount of water and paint is always advised to get the best results. Too little mixture can leave patches over the object. Dish soap is suitable for getting the colour homogenized and spread through water equally.
Warning: Avoid using already treated or contaminated water. It affects the colour quality and binding capacity of the paints.
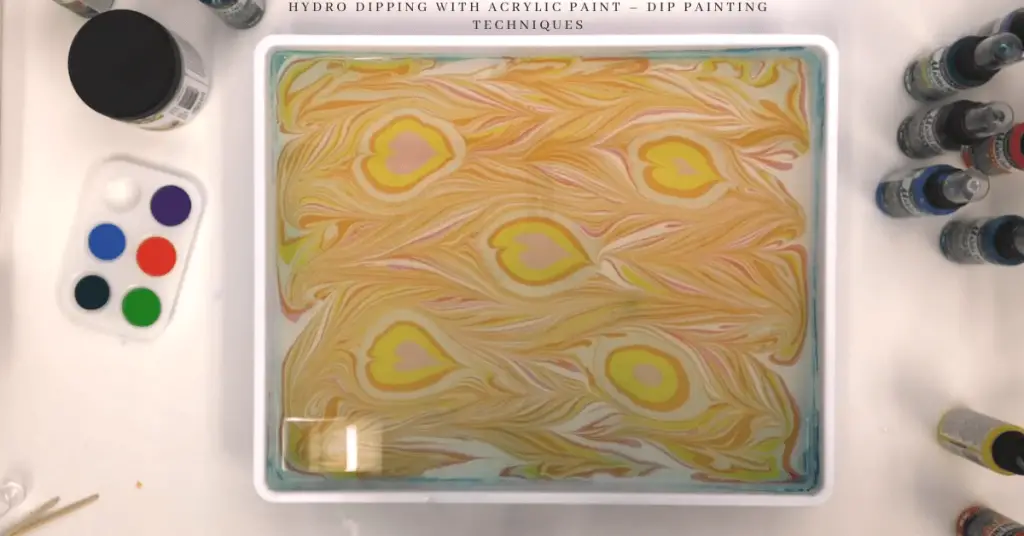
2. Marbling of Paper:
Back in the 1700s, people used to print paper with inks or colours. The marbling of paper is a derivative of that ancient technique.
A swirling design is produced and printed over the paper with the help of the hydro-dipping method. Colours are made to float over the water’s surface, and the paper is dipped into the water.
The technique is not only limited to paper but stunning designs can be created over fabrics and leather objects.
Supplies Required:
- Water bowl
- Acrylics of desired colours
- A chunk of paper, fabric, or leather
- Swirling tool
- Tray
- Borax
Procedure:
- Mix borax and water in an appropriate proportion to prepare a primary mixture. A liquid detergent can be added too, for remarkable results.
- Pour each colour into the water mixture separately and swirl it well.
- Continue putting in different colours of your choice and stir with the help of a toothpick or brush, or any other tool.
- Once you reach the desired design, stop adding more colours and swirling.
- Dip the paper, fabric or leather object into the above mixture gently.
- Remove the object and let the excess colour drip off.
- Let the object dry well before handling further. Place the object over waxing paper or any absorbing non-sticking surface.
Tips: If swirling is not helping you get your design, use a paintbrush for this purpose. Swipe it over the surface to reach a satisfactory result.
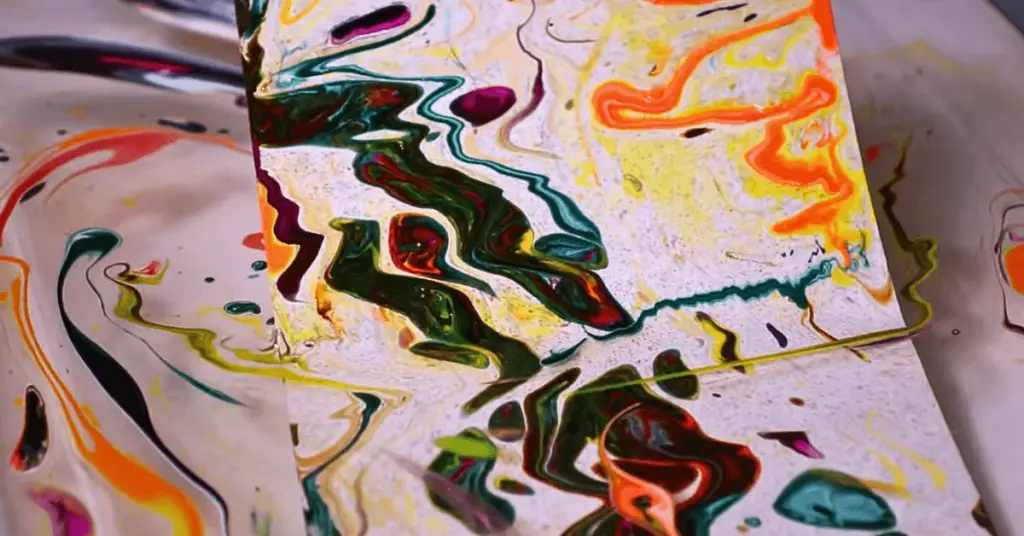
Alternative Methods:
Can you hydro dip with acrylic paint using alternative methods? Yes, you can, and here are the details below.
Hydrographics Water Painting:
The hydrographic film is an easy and straightforward method to design your objects. It’s a sheet of plastic having a variety of fetching and unique designs.
The hydro-dipping film is first cut out to extract the specific design and placed over the water mixture surface. The object is then dipped into the mixture to create a design. The method is helpful for beginners.
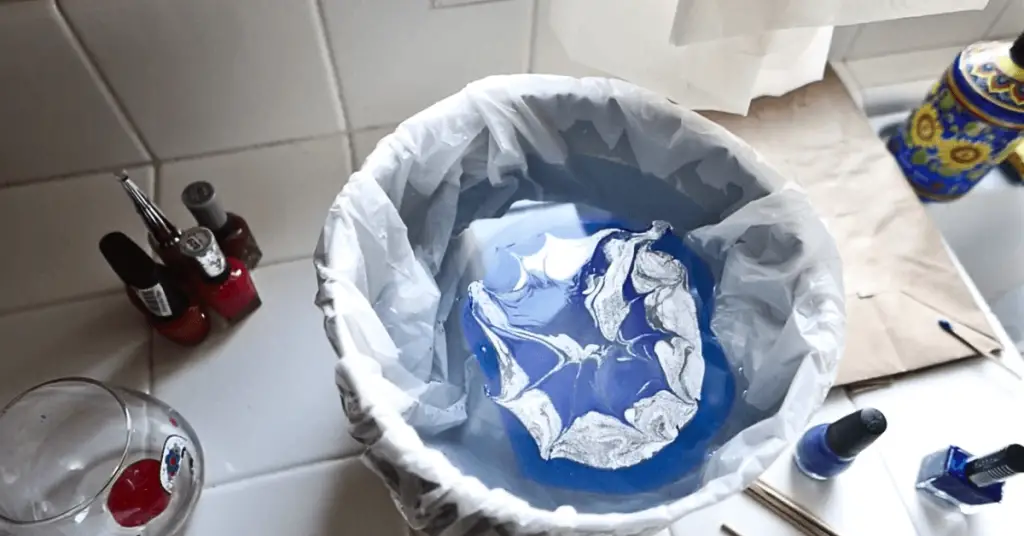
Nail Polish Method:
For marbled design, hydro dip with nail polish is an excellent alternative to acrylics. Just pour different nail polish colors into the water and swirl to create a specific format.
Dip your object into the mixture and let dry well after removing the object.
Enamel paint method:
Another exciting option is mixing enamel with a specific quantity of borax to make a mixture. Pour the mixture into the water top and let it float instead of mixing it deep down.
Once a particular design is produced by swirling, dip the object into the water and remove it after a few seconds. Let the excess colour drip off and leave the object for drying.
Advantages of Hydro Dip Painting With Acrylic
- One of the benefits of the hydro dipped painting technique is its versatility. A variety of acrylic colors can be combined. Unique and catching designs can be created with the method. Moreover, you can discover new designs.
- Another advantage of this water dip painting technique is its affordability and simplicity. Easy to perform and takes lesser time as compared. You can save your worthy time and complete your project on time.
- Hydro dipping is the most valuable and effective method to add an extra touch to your painting job.
What kind of Paint Can Be Used For Hydro Dipping?
Generally, any type of paint having the binding capacity to your desired object or surface can be for hydro dipping.
Acrylic is the most effective paint for the technique as it’s water-based. It has good compatibility with a variety of surfaces. Another great and easy option can be latex paint. It’s easy to prepare and can bind to the surface firmly in no time.
Finally, enamel paint is somehow helpful for hydro dipping too. But it’s as effective as required because it’s oil-based paint and difficult to mix with water.
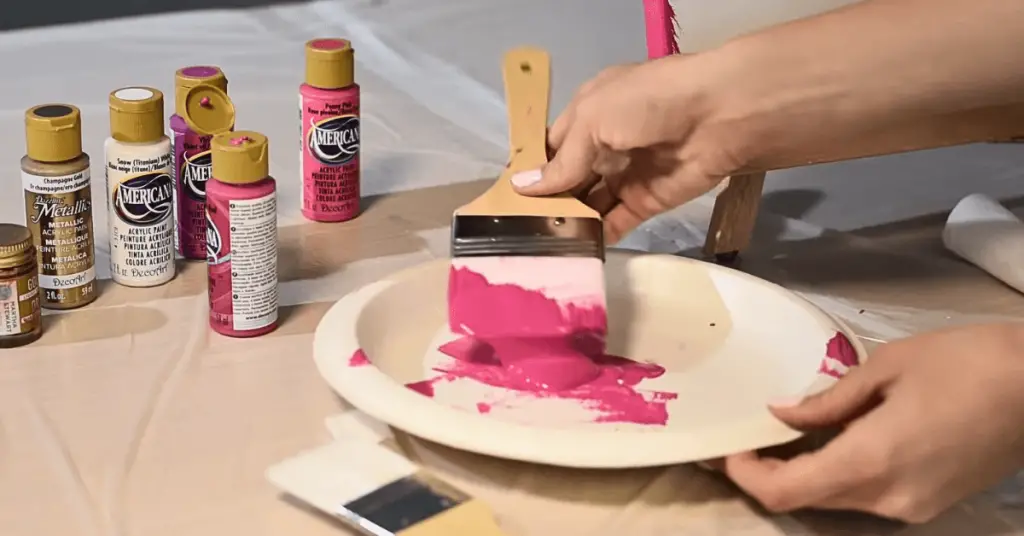
Best Paint For Hydro Dipping:
Some well-reputed companies manufacture purpose-made and specified hydro-dipping paints. These types of paints are synthesised to be utilized with the hydro dipping techniques specifically. Additionally, they are harmless and do not harm the surface you want to design.
One of the ordinary and famous brands most artists use for hydro dipping is Marabu Easy Marble Paint Starter Set. It gives remarkable results and never disappoints the users. It is available at almost every hardware store.
Another great choice is Marbling Paint Art Kit. It is perfect and durable when used with a suitable quantity of water. It comes with usage instructions and guarantees satisfactory results.
Spray Paint Hydro Dipping – Step By Step
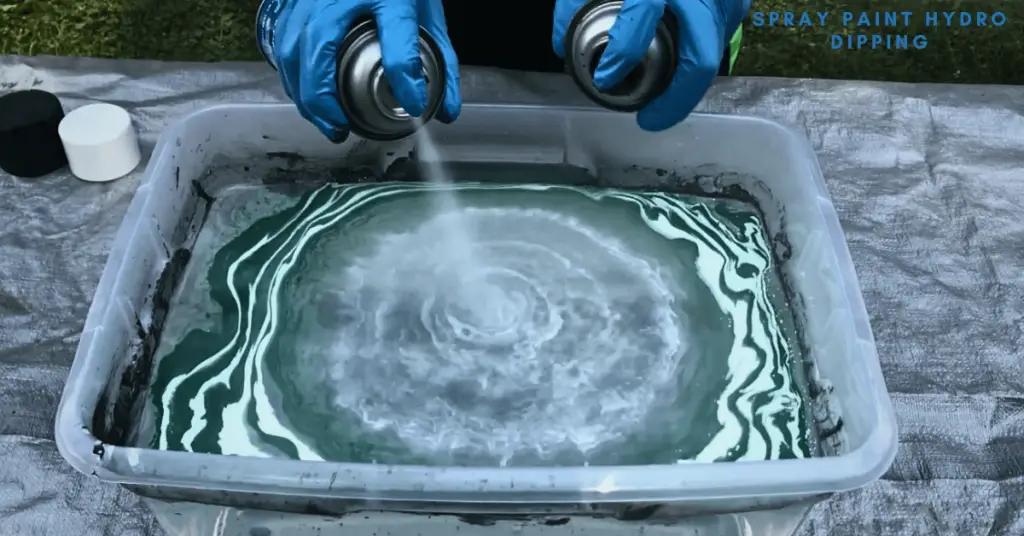
Here is how to hydro dip with acrylic spray paint:
Supplies needed:
- A container
- Water
- Acrylic paints of your preference
- Newspaper or cloth
- Masking tape and
- Acrylic spray
Procedure:
- Take a container of size enough to hold your object.
- Fill the container with water. Make sure the container is not filled. Leave a suitable space on the top.
- Add acrylic paint to the water using acrylic sprays. For random and versatile designs or marble effects, add more than one colour.
- Take the newspapers or cloth and tape them with the parts of the object you don’t wish to paint.
- Hold the object over the vessel and gently lower it inside the water mixture.
- Dip the object properly so that acrylic paint is printed over the surface thoroughly.
- Once you are sure the paint has covered the whole surface, remove it and let the excess paint drip off.
- Finally, leave the object for a few minutes and let it dry completely.
- You’re done!
How To Hydro Dip Without Spray Paint:
There is another method known as paper marbling. It can be performed without spray paint. It is much more exciting and easy to perform.
Follow the same steps discussed above for paper marbling and discover new designs.
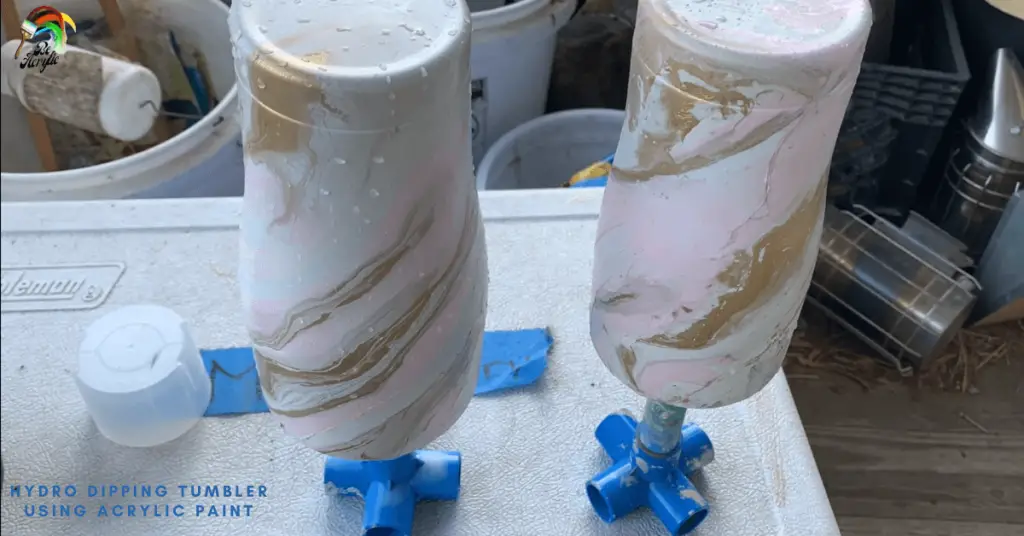
Hydro Dipping Tumbler Using Acrylic Paint:
Tumblers are an excellent choice if you are looking to test your painting skills. Fetching designs can be produced over the tumbler surface using acrylic paint. Moreover, the bottom and top of the object can be painted differently.
Supplies required:
- Water cup
- Cardboard
- Tumbler
- Tape
- Acrylics of different colours
- A container
Procedure:
- Cover the parts of the tumbler you’re not willing to paint with the help of tape.
- Pour the acrylic onto the paper correctly.
- Dip the tumbler in the paint. Ensure no part of the tumbler remains unpainted except the covered components.
- Take some water in the container and dip the painted tumbler inside the container full of water.
- The water would wash away some paint, leaving a specific design on the surface.
- Remove the tumbler from the water and let it dry for a few minutes.
- You’re done.
How To Thin Acrylic Paint For Hydro Dipping?
The affordable and simplest way of thinning acrylic paint for hydro dipping is by adding an appropriate amount of water. Make sure you don’t add too much water and make the paint useless.
Another way is adding a specific medium. Adding a medium synthesised to thin down the paint can be costly but effective and durable. Mediums can be bought online or from any craft store.
Hydro-Dipping Shoes Using Acrylic Paint – Step By Step
Hydro-dipping shoes with acrylics is a great approach and exciting artwork. You can customise your favourite sneakers according to your style and fashion. You can also use this technique to renew your shoes but make sure they are not too much old and the paint should be able to stay on their surface. Here’s the complete procedure.
Supplies needed:
- A large container
- Acrylic paints
- A tool for stirring
- Shoes
Procedure:
- Place a cloth, paper, or plastic sheet under the container to insulate the area around your work from paint.
- Pour acrylics into the container of water and continue swirling around. Add different colors one by one and stir continuously to distribute the paint uniformly.
- Put the shoes inside the mixture of water and leave it for a few seconds. Let the color bind or stick to the shoe’s surface thoroughly.
- Remove the shoes and let the excess color drip off.
- Put the shoes over a non-sticky surface and let them dry completely before handling them. If you want to prevent acrylic paint from cracking on shoes, you should allow them to dry at a moderate temperature.
FAQs
How do you make acrylic paint float on water?
Generally, acrylics don’t flow on the water as they are water-based colours. To make them float over the top of the water, add glycerin or a wetting chemical. After adding the chemical to the paint, mix it well so that the agent is equally distributed.
Can you use acrylic paint for hydro dipping?
Yes, you can hydro-dip with acrylic paint. You’ll need some basic supplies and knowledge about hydro-dipping techniques. Pour acrylic paint into the water and mix evenly. Dip the object into the mixture and let it dry after removing it.
Can you Hydro dip without primer?
Yes, you can hydro-dip without primer. But primer is recommended for best results as it helps the paint stick to the surface firmly.
How to hydro dip with acrylic paint without borax?
Borax is used for slimming the paint while we go for hydro dipping. Alternative to borax is acrylic mediums. They are as helpful as borax is.
Can any object be hydro-dipped with acrylic paint?
In theory, yes, but some materials work better than others. Objects made of plastic, metal, or glass tend to work well. Porous materials like wood may require additional preparation.
How do I create a design for hydro dipping with acrylic paint?
There are various methods for creating designs, including using stencils, spray paint, or even hand-painting directly onto the water’s surface. Experiment with different techniques to achieve your desired look.
Finalising:
So how to hydro dip with acrylic paint? Well, we have talked enough about the hydro-dipping technique. We discussed different procedures and the benefits of the method.
The paint first needs to be thinned to make it float over water. Moreover, a variety of paints can be used at a time. We tried to cover every detail about the hydro dipping technique, but still, if you have queries, you’re welcome in the comment section.
Thank you!
- How To Buff Acrylic Enamel Paint In 5 Easy Steps? - February 2, 2024
- How To Make Acrylic Paint More Opaque? 10 Effective Methods - February 1, 2024
- How To Sketch On Canvas Before Acrylic Painting? Draw Like a Pro - January 31, 2024

